
Beyblade X Xtreme Dash Explained
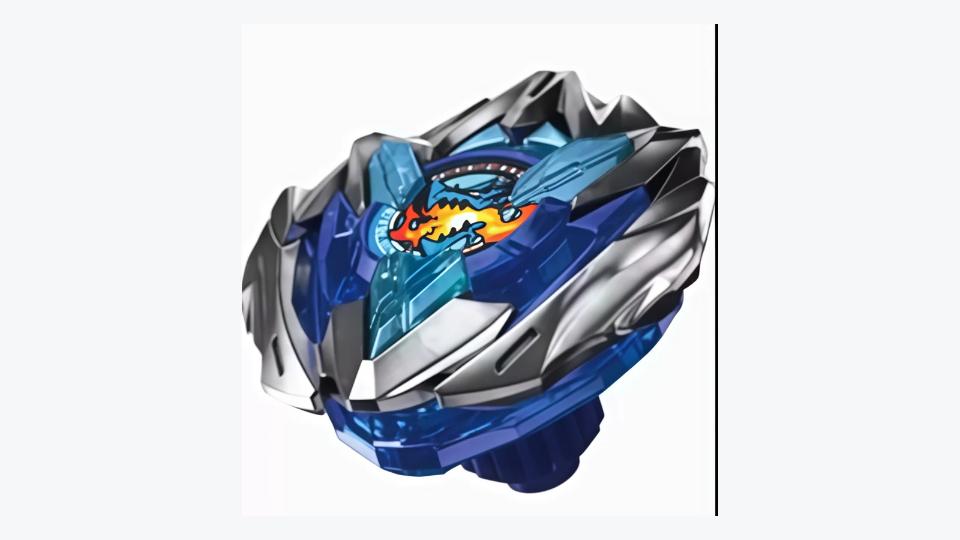
Xtreme Dash is the official name for one of Beyblade X's signature gimmicks: the moment a top's Bit catches the stadium's X-Celerator Rail (also called the Xtreme Line) and gets flung around the outer rim at a sharply higher speed. It shows up on both the Beyblade Wiki and Takara Tomy/Hasbro marketing copy, which frames the payoff as a potential "Xtreme Finish" — a match-ending collision delivered at rail speed rather than normal stadium speed.
How the rail actually works
The X-Celerator Rail runs around the inside wall of compatible Beystadiums. A top has to be moving fast enough, and holding enough of an outward line, for its Bit to catch and ride that rail instead of sliding back into the bowl. Once it's on the rail, the top accelerates and gets thrown back into the arena at speed — official material doesn't publish a number for how much faster (no RPM or cm/s figure for the boost has turned up in any source checked), so treat "Xtreme Dash" as a described effect, not a spec you can quote.
Low Flat: the Bit built to chase it
Not every Bit engages the rail equally well. Low Flat (LF) is the Attack-type Bit the community treats as the standard choice for deliberately hunting Xtreme Dashes — it uses a more aggressive, lower-profile flat tip than the standard Flat Bit, which makes contact with the Xtreme Line easier to trigger and more consistent to repeat. The trade-off is the usual Attack one: LF gives up stamina and wears down faster than rounder, more defensive Bits, so a combo built around it is committing to winning early or not at all.
Drop Attack and head-on rail hits
A related but separate gimmick, Drop Attack, appears on its own line of Beystadiums: an elevated ramp section lets a top launch upward and then fall straight down onto whatever it's spinning against, rather than staying flat in the bowl. It's a different mechanism from the Xtreme Dash, but the two are designed to stack — a top that's already carrying rail speed hits harder when it also drops. Community accounts also flag left-spin versus right-spin match-ups on the Xtreme Line specifically, since opposite-spin tops travel the rail in opposite directions and can meet head-on at combined velocity, producing the hardest collisions the line sees.
If you're building around any of this for a tournament, confirm with the organiser which stadium and Bit combination is actually on the table — Xtreme Dash depends on stadium hardware as much as parts.
Since all of this depends on the bowl, the stadiums guide is the companion read, alongside the safety and care guide for high-speed play at home.
Frequently asked questions
What is an Xtreme Dash in Beyblade X?
It is the official name for the moment a top's Bit catches the stadium's X-Celerator Rail, also called the Xtreme Line, and gets flung around the outer rim at a sharply higher speed. Marketing frames the payoff as a potential Xtreme Finish, a match-ending collision delivered at rail speed rather than normal stadium speed.
How does a top catch the X-Celerator Rail?
The rail runs around the inside wall of compatible Beystadiums, and a top has to be moving fast enough, and holding enough of an outward line, for its Bit to catch and ride that rail instead of sliding back into the bowl. Once it's on the rail, the top accelerates and gets thrown back into the arena at speed.
Which Bit is best for hunting Xtreme Dashes?
Low Flat (LF). It is the Attack-type Bit the community treats as the standard choice for deliberately chasing Xtreme Dashes, because its more aggressive, lower-profile flat tip makes contact with the Xtreme Line easier to trigger and more consistent to repeat. The trade-off is the usual Attack one: it gives up stamina and wears down faster than rounder, more defensive Bits.
How much faster does the Xtreme Dash boost make a top?
There is no official number. No RPM or speed figure for the boost has turned up in any source checked, so treat Xtreme Dash as a described effect rather than a spec you can quote.
Sources, safety and catalogue wording
This guide uses the official Beyblade X guide, the official gear guide, the current official line-up and the official manual hub as references. Follow the package instructions and Beyblade X safety guidance: use Beyblade X tops only in an appropriate Beyblade X stadium, and keep faces and hands clear before launching.
Official product names and codes on this page identify reference releases. Monkee Mods catalogue listings may describe compatible or style items; they are not made by, affiliated with, or endorsed by Takara Tomy. Product availability, package contents and event eligibility can change, so confirm the exact listing and ask the organiser before an event.