
Fixing Loose Beyblade X Parts
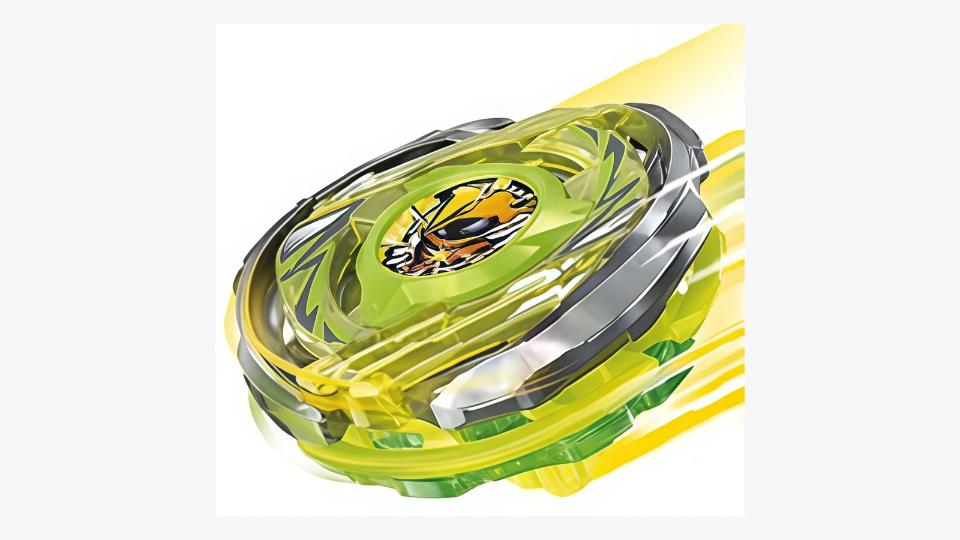
A Beyblade X combo that rattles apart mid-battle almost always has a worn Ratchet, not a one-off assembly mistake. The Ratchet is the middle layer of the three-part system (Blade, Ratchet, Bit), and it's the part that takes the most repeated impact stress over a combo's life, so it's also the part that fails first.
Why the Ratchet wears out first
Each Ratchet has a set of locking grooves that clamp onto the Blade's mounting teeth. Every hit a Beyblade takes in a stadium transmits some shock through that lock. Over enough battles, the grooves flatten and lose their sharp edge, so the click that used to hold the Blade firmly in place gets softer, and eventually the Blade can shift or separate under impact instead of staying seated. This is a gradual wear pattern rather than a single point of failure, which is why a combo that felt solid a month ago can start rattling with no obvious cause.
Ratchet part numbers follow a two-digit convention worth knowing when you're comparing options: the first digit is the blade-point count and the second is the height in units of 0.1mm, so a "3-60" Ratchet has three points and stands 6.0mm tall. Two Ratchets with the same first digit but different second digits will change a combo's height and contact behavior even though the point count looks identical on the shelf.
Genuine parts fit tighter than knockoffs
Fit quality varies a lot between authentic Takara Tomy parts and third-party or counterfeit ones. Genuine parts are molded to tighter tolerances, so a Bit seats into a Ratchet with very little play even when both are new. Counterfeit parts are frequently molded looser, and that slop can look identical to wear-induced looseness even on a brand-new combo — which makes it easy to misdiagnose a bad knockoff Ratchet as a worn genuine one, or vice versa.
What to actually do about it
There's no official Takara Tomy spec for exactly how much play or wobble means a part is "worn" — that threshold you'll see quoted around as a hard number is community rule-of-thumb, not a published tolerance. In practice, players clean both mating surfaces before judging a part (debris alone can mimic wear by stopping a full seat), and retire a Ratchet once it visibly fails to click home rather than trying to compensate with tape or glue, which changes the geometry unpredictably. Rotating between a few equivalent Ratchets instead of running one constantly also spreads out the wear. If you're prepping for an organized event, it's still worth confirming the venue's current part and condition rules before you show up, since those can vary by organizer.
Ratchet wear sits inside a broader maintenance picture, and the deck maintenance guide and wear checks guide cover the rest of a rotation's upkeep.
Frequently asked questions
Why does my Beyblade X combo rattle apart mid-battle?
It almost always has a worn Ratchet, not a one-off assembly mistake. The Ratchet takes the most repeated impact stress of the three-part system, so it's also the part that fails first.
How do you read Beyblade X Ratchet numbers like 3-60?
The first digit is the blade-point count and the second is the height in units of 0.1mm, so a 3-60 Ratchet has three points and stands 6.0mm tall. Two Ratchets with the same first digit but different second digits change a combo's height and contact behaviour even though the point count looks identical.
How can I tell a worn Ratchet from a loose knockoff?
Genuine Takara Tomy parts are molded to tighter tolerances, while counterfeit parts are frequently molded looser, so knockoff slop can look identical to wear even on a brand-new combo. Clean both mating surfaces before judging a part, since debris alone can mimic wear by stopping a full seat.
When should I retire a worn Beyblade X Ratchet?
There's no official Takara Tomy spec for how much play or wobble means a part is worn — quoted thresholds are community rule-of-thumb. In practice, players retire a Ratchet once it visibly fails to click home rather than compensating with tape or glue, and rotate between a few equivalent Ratchets to spread out the wear.
Sources, safety and catalogue wording
This guide uses the official Beyblade X guide, the official gear guide, the current official line-up and the official manual hub as references. Follow the package instructions and Beyblade X safety guidance: use Beyblade X tops only in an appropriate Beyblade X stadium, and keep faces and hands clear before launching.
Official product names and codes on this page identify reference releases. Monkee Mods catalogue listings may describe compatible or style items; they are not made by, affiliated with, or endorsed by Takara Tomy. Product availability, package contents and event eligibility can change, so confirm the exact listing and ask the organiser before an event.