
How to Mod a Nerf Blaster: A Beginner's Roadmap
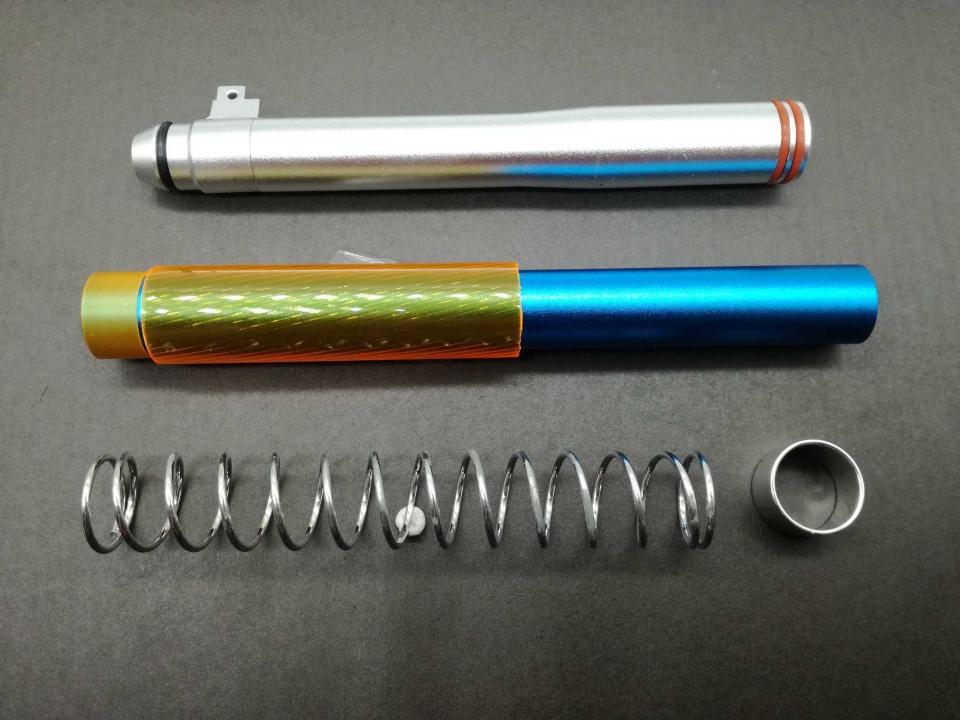
How to mod a Nerf blaster is a process, not a parts dump: identify the exact platform, chrono it stock, change one documented thing, test, then stop or continue. A general article cannot give you a wiring diagram for an unknown shell, a spring for an unnamed plunger, or a pack that “fits any flywheel”. Hasbro’s manuals still say do not modify darts or blaster. Aftermarket makers publish which springs, cages, magwells and packs they support — stay inside those lists, and treat venue rules and Malaysian law as separate constraints.
Tools that actually get used
You do not need a workshop. You need the fasteners the shell actually uses, a plastic-safe pry tool, a notepad, and a way to chrono with the dart the field tests. For springers add spare O-rings the platform lists and a way to keep the plunger captured when you open it. For flywheels add a pack the product names, and a MOSFET only if current is about to rise — it is a switch, not an FPS part, as what a MOSFET is explains. Soldering belongs on the electrical weekend. If you cannot make a clean, strain-relieved joint, hand the rewire to a technician. Rated eyewear (Z87.1 or EN 166) goes on before any live test.
One change at a time
The whole method is: baseline, one variable, re-test. If you fit a new spring, a new barrel and a new dart on the same afternoon, a wild group tells you nothing. Write the dart, the chrono average, and what you touched. Use the same dart type for before and after. Foam that is banana-shaped, crushed or mixed lengths will lie about every hardware change.
Know which machine you opened. A springer such as the Worker Seagull, Worker Harrier, XYL KM9 Unicorn or Monkee Mods Firefly lives on air seal and a documented spring. A flywheel such as the Hare Diana lives on cage alignment, crush, feed length and a pack that does not sag. They do not share upgrade parts. A Talon magazine is not a Diana magazine. A Firefly shell is not a Harrier barrel. If the listing does not name your blaster, put it back.
First steps by machine
| If you have a… | First documented change | Do not start with |
|---|---|---|
| Springer (Seagull, Harrier, Unicorn, Firefly, ZWQ) | Matched short darts and mags, then seal, then the spring the platform lists | The heaviest spring that physically compresses, or a BCAR chosen by vibe |
| Flywheel (Diana and similar cages) | Correct dart length, cage screws, clean wheels | Hotter motors or a higher cell-count pack on stock trigger contacts |
| Either, for grouping | A BCAR200 or BCAR300 chosen by measured FPS (about 8° / 200-class vs 18° / 300-class) | Screwing a 300-class twist onto a 150-class pulse |
| Either, cosmetics | Handguards, stocks and rails the platform lists | Paint that makes it look like a firearm |
A BCAR is accuracy hardware, not a power upgrade — choose it after you have a chrono number. Seagull and Harrier compensators hide a BCAR on the barrel length they were designed for; short and long parts are not interchangeable. Unicorn catalogue parts are mostly ergonomic (Standard, Viper, MPX); the AEG buffer-tube adapter is stock-format, not power. The wider order is in the Nerf modding roadmap.
When to stop
Stop immediately if a part does not fit without force, a screw is stripping, insulation is nicked, a connector is reversed, the cage is cracked, or the blaster overheats, smells, or cycles erratically. Stop if you cannot name the spring rate, motor, or pack from the product documentation. Stop when you are at the organiser cap — more FPS past the sheet is not a better mod. Disconnect power as the manual directs before you open a flywheel. Never charge a pack unattended. Retire a swollen, leaking, hot or damaged LiPo.
Do not invent a wiring diagram because a video used 16 AWG in a different shell. Polarity, fuse placement, MOSFET orientation and connector type are specific. Rewire is its own job: voltage sag, gauge versus current, XT30/XT60, and a fuse near the pack, covered in how to rewire a Nerf blaster. Do not skip that and “just add motors”.
- Identify the exact model and version; read its current documentation and the component listing.
- Chrono and group it stock with one dart type and rated eyewear, a safe backstop, and the field’s test method if you have it.
- Change one documented part. Keep the original.
- Reassemble fully. Check for pinched wires, proud screws, and a cage or plunger that moves as designed.
- Chrono again with the same dart. Write the number down.
- If the result is worse, reverse the change before adding another.
- If you hit heat, smell, a jam you cannot clear by the manual, or a part that will not seat, stop and get help.
Frequently Asked Questions
What is a safe first modification?
Matched darts and a spare magazine of the correct pattern. Then, on a springer, a seal or a spring the platform names; on a flywheel, cage screws and clean wheels. Anything electrical is later. If the documentation does not list the part for your exact blaster, it is not a first mod.
Can I add a different battery or motor?
Not by assumption. Voltage, connector, bay size, cage, wiring and switch have to be a complete documented configuration. A pack that physically fits can still over-speed motors or cook stock trigger contacts. Use the pack the product names, or a configuration the platform actually publishes.
Do I need a schematic?
You need the diagram for that shell and that MOSFET, not a generic internet drawing. Unknown shells do not get a one-size rewire from this site. If you cannot verify polarity and fuse placement, do not power it up.
When is the blaster “done”?
When it is reliable at the organiser cap with darts you can buy again. Attachments and paint are optional. Mods are never required.